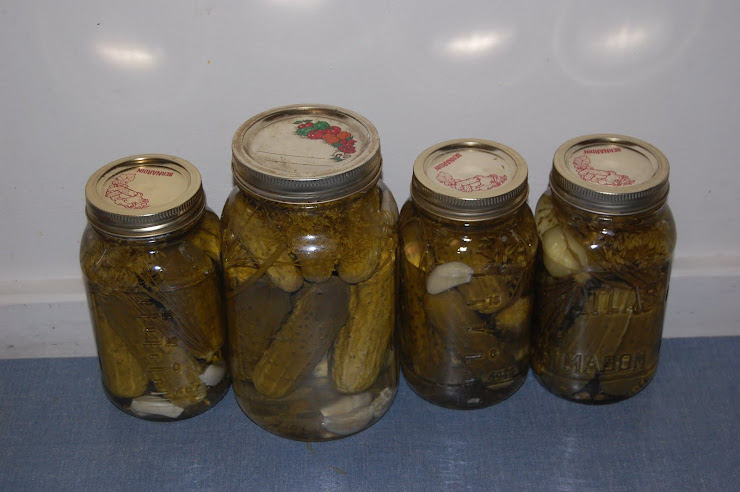
Last September in the frenzy of havesting and canning I ended up with an overabundance of local grapes. It was a few days before I could get to them all, the fruit flies were swarming and in desperation I juiced a large quantity of them. I flash heated the juice to pasteurize it, filled 3 litre jars and set them aside to be used later. A few days later I noticed that one of the jars hadn't sealed properly and had a small amount of what appeared to be scum on the surface. When I lifted the lid the distinct odor of yeast and alcohol hit me right away; unbeknown to me, I was making wine!
Now since wine making wasn't really on the agenda and and I didn't have the proper equipment nor knowledge to do so, I probably should have just thrown it out right then. But the science nerd in me was intrigued so I pour the entire contents into a 2 l plastic bottle and loosely capped it so the gases could escape. Then I stuck it away in warm corner and let it do its thing. After a couple weeks the process seemed to be complete- the bubbling had stopped and the liquid smelled strongly of wine. Appearance wise however it didn't look so nice- it was clouded and murky and looked like nothing you'd want to drink.
 And without taking a crash course in wine making I didn't think there was anything I could do to make use of it. Then it occurred to me that I could let it turn into vinegar! It seemed simple enough; after all a bottle of red wine left open for too long will eventually turn to vinegar on its own. I looked around online to see if there was any information on how to ensure this process took place but there wasn't much out there. I recalled reading a recent article in Edible Toronto ( a fantastic magazine about local food that's distributed for FREE around the GTA) about a man who calls himself and his product line Mr Vinegar. Roger Lambert and his wife Joyce have been making their award winning vinegars since 1994 so in my books that makes them experts. Roger was gracious enough to speak to me by phone and answer all of my questions!
Here's where the science nerd part kicks in again. All alcohol is made by yeast acting on upon sugars and plant carbohydrates- in this version, grape juice- to produce ethanol and carbon dioxide (the bubbles). If you were making wine or beer you would add a specific strain of yeast to your base substance; in my case it was wild yeast which are naturally occurring on grapes that started the process. Once the yeast has consumed all the available sugar they die off and you're left with ethanol. To continue on to vinegar you need another microbe -bacteria known as acetic acid bacteria. The most common of these are the Acetobactor family. They break the alcohol down to form acetic acid- the key component of vinegar. I asked Roger how I would go about ensuring that these bacteria found their way into my poor excuse for wine. He suggested two things - the first was to leave the lid off to encourage fruit flies to enter. That was pretty easily done since my house was still swarming with them. The second was to add some flowers- any kind. It seems Acetobacter are found naturally in rotting fruit (and transported by fruit flies) as well as in the nectar of flowers. I threw in some lobelia, mums and tomato flowers for good measure- now my wine looked odd but pretty!
Roger and I also discussed a possible third source which is to purchase vinegar
 that includes the 'mother'. A mother is a large colony of the necessary bacteria that is found on the surface of a batch of vinegar. Unfortunately once the acetobactor have consumed all the ethanol available they tend to die off and the mother sinks to the bottom. This is important to note because Acetobactor are oxygen dependent- hence why we try to keep air out of red wine. To keep your culture alive you must continually add more of the source of food- ethanol, and it must be exposed to air. Most bottled vinegars which contain a mother don't actually have much in the way of viable bacterial cultures but they are still more healthy than those that contain sulphites which are added to stop the process cold and kills off all the bacteria in the process. You can also buy packaged mother starters from some homebrew supply companies.
I left my 'wine', flowers floating and open to the fruit flies for several weeks.
 Per Rogers instructions I also added some white vinegar to help acidify the starter. Soon after, a weird shiny mat appeared on the surface just as Roger described and the smell of vinegar began to overpower the wine smell. After another month or so I noticed that the mother had sunk to the bottom so I decanted the liquid from the container, strained it and bottled it. It tastes like a fruity version of red wine vinegar although I suspect I might have left it a bit too long; some species of Acetobactor can further convert acetic acid into carbon dioxide and water and mine's a bit watery I think. I definitely won't be using it for canning since I don't know the percentage of acetic acid, and I don't think I'll be stealing any gold medals from Roger with this batch. Truthfully it was a bit messy and time consuming to produce a small amount of vinegar but the satisfaction of knowing where the ingredients came from, start to finish makes it worthwhile. Next time I'll do a much larger batch.
I am eager to attempt other kinds of vinegars which use different starting ingredients. I think the next obvious choice is apple cider vinegar. There's great instructions (using much better equipment) for this at Local Kitchen .
If you make your own beer you can also try making malt vinegar from it. You can even use mass produced beer but most will contain sulphites to impede the growth of the bacteria so aren't as reliable. Any type of alcohol can potentially become vinegar so the possibilities are many. White vinegar is made from -go figure- white spirits, predominantly rum. Champagne vinegar is popular as is white wine. Roger takes things to a whole new level; he makes fruit vinegars from things like blueberries and peaches, even a cucumber vinegar and my new favourite- maple syrup vinegar!
If you live near Hamilton, Roger will be teaching a workshop on vinegar making at Mohawk College in May!
Details
Location: Mohawk College - Fennell Campus - 135 Fennell Ave W, Hamilton, ON
Date: May 14th, 2011
Time: 10:00 am - 4:00 pm
For more information, email ask@mohawkcollege.ca.


.jpg)